If you’ve ever had to share access to your cPanel account with team members, developers, or clients, you know how risky it can be to hand over your main login credentials. Fortunately, there’s a better way. With custom cPanel user accounts, you can create additional users with limited access to only the tools or sections they need, keeping your website secure while maintaining smooth collaboration.
In this guide, we’ll walk you through how to set up these custom accounts and manage permissions like a pro, all within your cPanel dashboard.
Why Use Custom cPanel User Accounts?
Let’s admit it, not everyone on your team needs full access to your hosting control panel. Maybe your designer only needs access to File Manager. Maybe your SEO consultant just needs to tweak DNS settings. Giving out your primary cPanel login is like handing over the keys to your entire digital house.
By creating custom cPanel user accounts, you gain:
- Better Control Over Who Sees What – You decide exactly what tools each user can access. This means your team members only interact with the sections relevant to their role. Nothing more, nothing less.
- Improved Security by Limiting Access – Fewer people with full access means less risk. By assigning limited permissions, you reduce the chances of accidental changes, data exposure, or security breaches.
- Easier Team Collaboration Without Sharing Sensitive Credentials – Instead of passing around one master login, each person gets their own username and password. It’s safer, cleaner, and easier to manage, especially if someone leaves the team.
- Simplified User Management When Working with Freelancers or Clients – When working with temporary contributors, like developers or clients, you can easily create accounts, assign only the needed permissions, and disable or remove access once the job’s done.
Step-by-Step Guide: Creating Custom Users in cPanel
Here’s how you can create and manage user accounts with specific permissions using the User Manager tool in cPanel.
1. Start by logging into your main cPanel account.
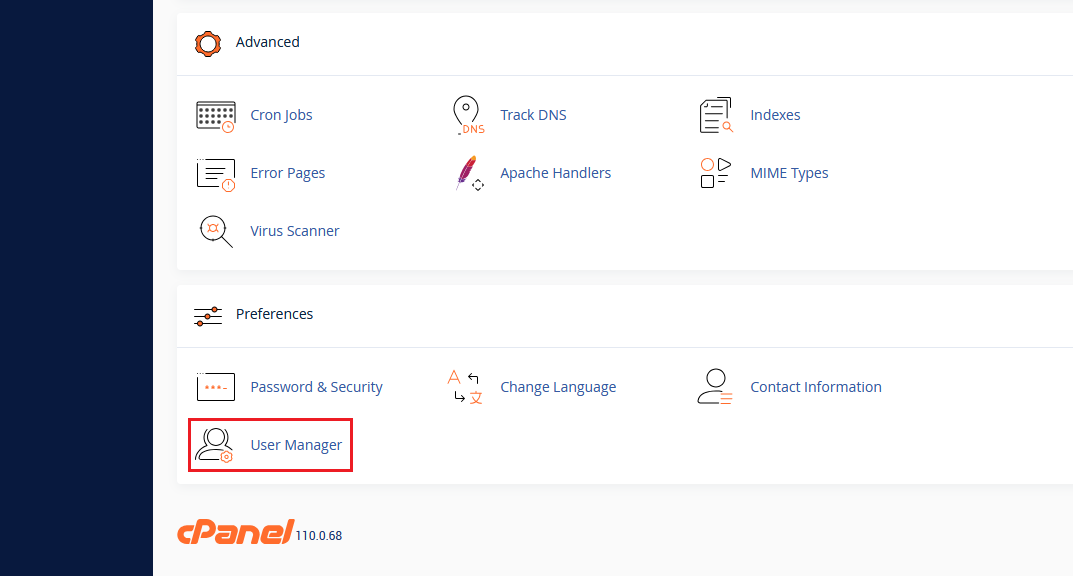
2. Under the Preferences section, click on “User Manager.” This is where you’ll manage all additional users.
3. At the top-right corner, click “Add User.” You’ll now be able to set up a new account.
4. Fill in the following:
- Full Name
- Username (this will be the login name)
- Domain (if your account hosts multiple domains)
- Contact Email (for password resets and notifications)
5. Choose whether to manually set a password or send a password creation link via email. For security, using the email invitation is a good choice.
6. Assign services and permissions to a certain user. You can assign access to:
- Email – If the user needs access to webmail or to create/remove email accounts.
- FTP – For file uploads and management.
- Web Disk – Ideal for users who need access to a specific directory only.
Tip: Use Web Disk for designers or collaborators who only need access to a theme or plugin folder, without touching other files.
You can also restrict access to specific directories for FTP or Web Disk users, ensuring they can only access what they truly need.
7. Click “Create,” and your new custom cPanel user account is ready. The user will receive an email if you chose that option.
Managing and Editing User Permissions
Need to update a user’s permissions later? No problem.
Just head back to the User Manager, click the gear icon beside the user, and you’ll be able to:
- Change their password
- Adjust their services
- Remove or limit access
You can also suspend accounts if you’re working with a freelancer or team member temporarily.
Best Practices When Creating Custom cPanel User Accounts
To keep things organized and secure, here are a few tips:
- Use Descriptive Usernames – like
dev-janeorseo-mikefor easier tracking. - Limit by Role – give each user only the permissions they need, nothing more.
- Review Regularly – delete unused accounts and update passwords when team changes happen.
- Keep Backups – especially when working with developers who may change files or settings.
Real-World Example
Let’s say you’re running a business website, and you’ve got two key people helping you out:
- Jake, your web developer, who handles the technical stuff.
- Emily, your content manager and SEO expert, who needs to upload blog posts and optimize on-page content regularly.
The problem? Jake’s schedule is packed. You’ve asked him to create WordPress user accounts or adjust access settings for Emily, but he’s either traveling, buried in code, or replying with, “I’ll get to it this weekend.” Sound familiar?
But Emily needs backend access now to keep the content machine moving.
Instead of waiting on Jake, you log into your cPanel and create a custom cPanel user account just for Emily.
With a few clicks, you:
- Grant her Web Disk access to the
/public_html/wp-content/uploadsfolder so she can upload images and assets. - Enable File Manager access just for the
/wp-content/themes/your-theme/directory in case she needs to tweak metadata or templates. - Restrict everything else, no email, no database access, no DNS.
Emily is in and working within minutes. No delays, no chasing your dev, and no giving away full access to the hosting account.
The best part? Jake can pick up where he left off whenever he’s available, without having to worry that someone’s been digging through the wrong parts of the server.
This type of flexible access control is exactly why custom cPanel user accounts are so valuable, especially when you’re juggling multiple roles or team members with different levels of urgency.
Wrapping Up
Custom cPanel user accounts give you the freedom to delegate tasks without compromising control. From tightening up security to improving workflow between team members, they offer a smarter, more organized way to manage access to your hosting environment.
If you haven’t already, take a few minutes to explore the User Manager in your cPanel dashboard and start creating accounts that match the way your team actually works. It’s a small step that can make a big difference in how you handle day-to-day operations.
Comment below if you have questions. If you found this post helpful, you might want to explore our post about managing AutoSSL Certificates in cPanel.

