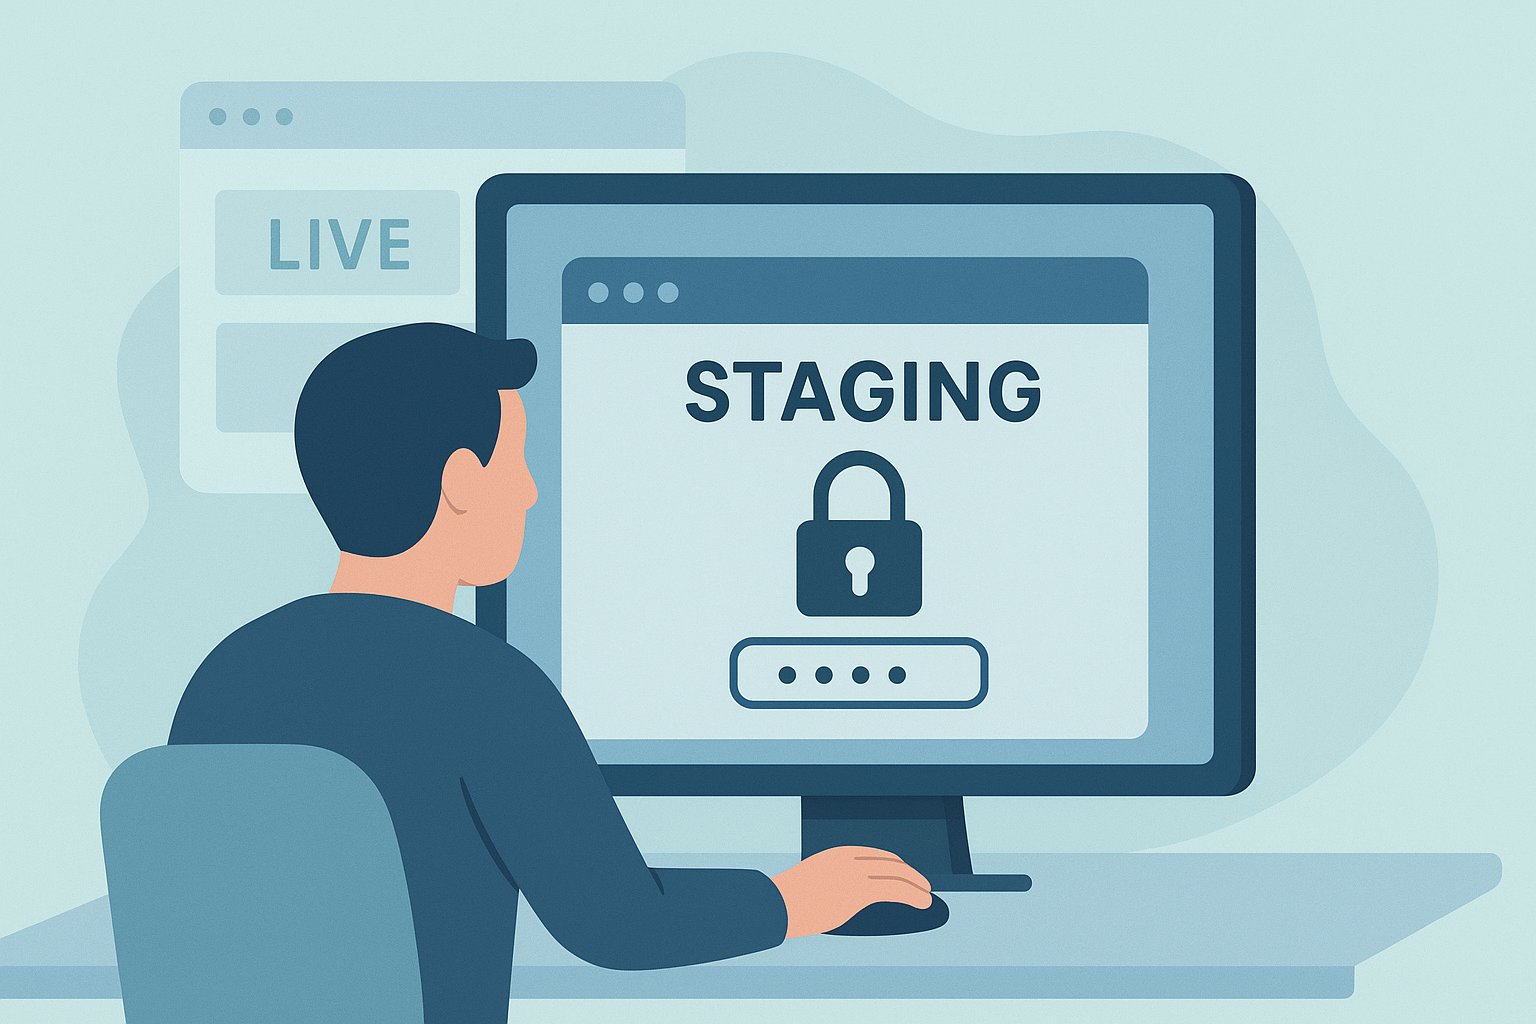
When you’re experimenting with new themes, plugins, or design changes, it’s never a good idea to do it directly on your live website. Every website needs a safe playground to test new designs, features, and updates before going live. Using .htaccess to create a private staging environment is a simple yet powerful way to do just that. With a few clever tweaks, you can turn any folder on your hosting account into a secure, password-protected staging area where only you or your team can access it. In this guide, we’ll walk through using .htaccess to create a private staging environment, adding an extra layer of control and safety to your development workflow.
Why You Need a Staging Environment?
A staging environment acts as a testing ground for your website. It lets you preview updates, test code, and experiment with settings before they affect your live website. By working in a private staging area, you can catch errors early, avoid downtime, and fine-tune performance in a safe space.
This lets you:
- Test updates and new features without worrying about breaking your live website.
- Identify compatibility issues in a controlled space
- See how your changes look and behave in a real server environment.
- Work freely without affecting visitors.
- Avoid showing unfinished work to the public.
Essentially, it’s your digital sandbox. Safe, isolated, and easy to maintain.
Now let’s walk through how to build your own private staging environment step by step, starting with creating the right directory structure.
Step 1 – Create the Directory Structure
First, log in to your hosting account via FTP or File Manager. In your website’s root directory, create a new folder for your staging website. For example:
/public_html/staging/You can then clone your existing website into this folder or upload a fresh copy of WordPress and import your data. Your file structure might look like this:
/public_html
    /staging
    /wp-content
    /wp-admin
This setup keeps your staging version isolated from your live website while still being accessible under a subdirectory like:
https://yourdomain.com/staging/Step 2 – Add Password Protection via .htaccess and .htpasswd
The easiest way to keep your staging website private is to require a username and password before anyone can access it. You can do this using two files: .htaccess and .htpasswd.
Inside your /staging/ folder, create a .htaccess file with the following lines:
AuthType Basic
AuthName "Restricted Access"
AuthUserFile /home/yourusername/.htpasswd
Require valid-user
Replace /home/yourusername/.htpasswd with the actual path to your .htpasswd file.
Next, create the .htpasswd file (you can generate it easily using online tools). It should look something like this:
username:$apr1$kL2m3d4e$XvJp6hQ4gCzzPmF/azPOE1This tells Apache to prompt for login credentials before showing your staging website. Only those with the correct username and password can access it.
Step 3 – Restrict Access by IP for Extra Security
For tighter control, you can restrict access to your staging environment by IP address. Add the following lines to your .htaccess file:
Order Deny,Allow
Deny from all
Allow from 123.456.789.000
Allow from 111.222.333.444
Replace those numbers with your actual IP addresses. This ensures that even if someone knows your staging URL, they won’t be able to access it unless they’re connecting from an approved IP.
Step 4 – Submitting URLs Automatically with functions.php
If your staging environment uses WordPress, you might want to prevent it from being indexed by search engines. You can take it a step further by submitting or blocking specific URLs automatically in your functions.php file.
Here’s a quick example to discourage bots from crawling your staging URLs:
add_action('wp_head', function() {
    if (strpos($_SERVER['HTTP_HOST'], 'staging') !== false) {
        echo '<meta name="robots" content="noindex, nofollow">';
    }
});
This snippet checks if you’re on a staging subdirectory and adds a noindex meta tag to keep it hidden from search engines.
Step 5 – Test Changes Before Going Live
Once your private staging environment is ready, you can start testing safely. Try installing plugins, updating your theme, or changing PHP settings without any risk to your live website.
When everything looks and works as expected, you can push your changes live manually or use a plugin to sync files and databases. Testing this way helps ensure a smooth, error-free update process.
Wrapping Up
Using .htaccess to create a private staging environment is one of the simplest and most effective ways to protect your development work. It gives you a safe space to experiment, test updates, and perfect your website before showing it to the world. By combining password protection, IP restrictions, and search engine control, you’ll have a secure environment that mirrors your live setup without the risks.
A little extra setup today can save you hours of recovery time later. So take a few minutes to build your private staging environment and make every change with confidence.
Leave a comment if you have any questions. If you found this post helpful, you might want to explore our blog on making changes to your WordPress site without going live.