Mini PCs are quickly becoming a go-to solution for users who want compact, energy-efficient machines that can handle daily computing tasks without taking up a lot of space. If you’ve just picked one up and are looking to get it running, this guide will show you how to set up a mini PC from the basics. Covering everything from plugging in the right cables to installing your operating system and optimizing performance. Mini PCs might be small, but they pack a punch, and getting started with one is easier than you might think. Let’s walk through the process step-by-step so you can get your mini PC up and running smoothly.
Why Mini PCs?
Before we get into the setup process, it’s worth appreciating what makes a mini PC special. Let’s quickly talk about why so many people are making the switch to mini PCs.
These tiny powerhouses have become a favorite for users who want a reliable machine without the bulk of a traditional desktop. Their compact size makes them perfect for small desks or tight spaces, and they’re incredibly power-efficient, helping you save on electricity over time. Most models run quietly, some even without fans, so they’re great for noise-sensitive environments. And despite their size, mini PCs are surprisingly versatile, handling everything from everyday office work and media streaming to light gaming or serving as part of a smart home setup.
Now, let’s jump into the practical steps to set up a mini PC and get it running smoothly.
Step 1 – Unbox and Check What’s Included
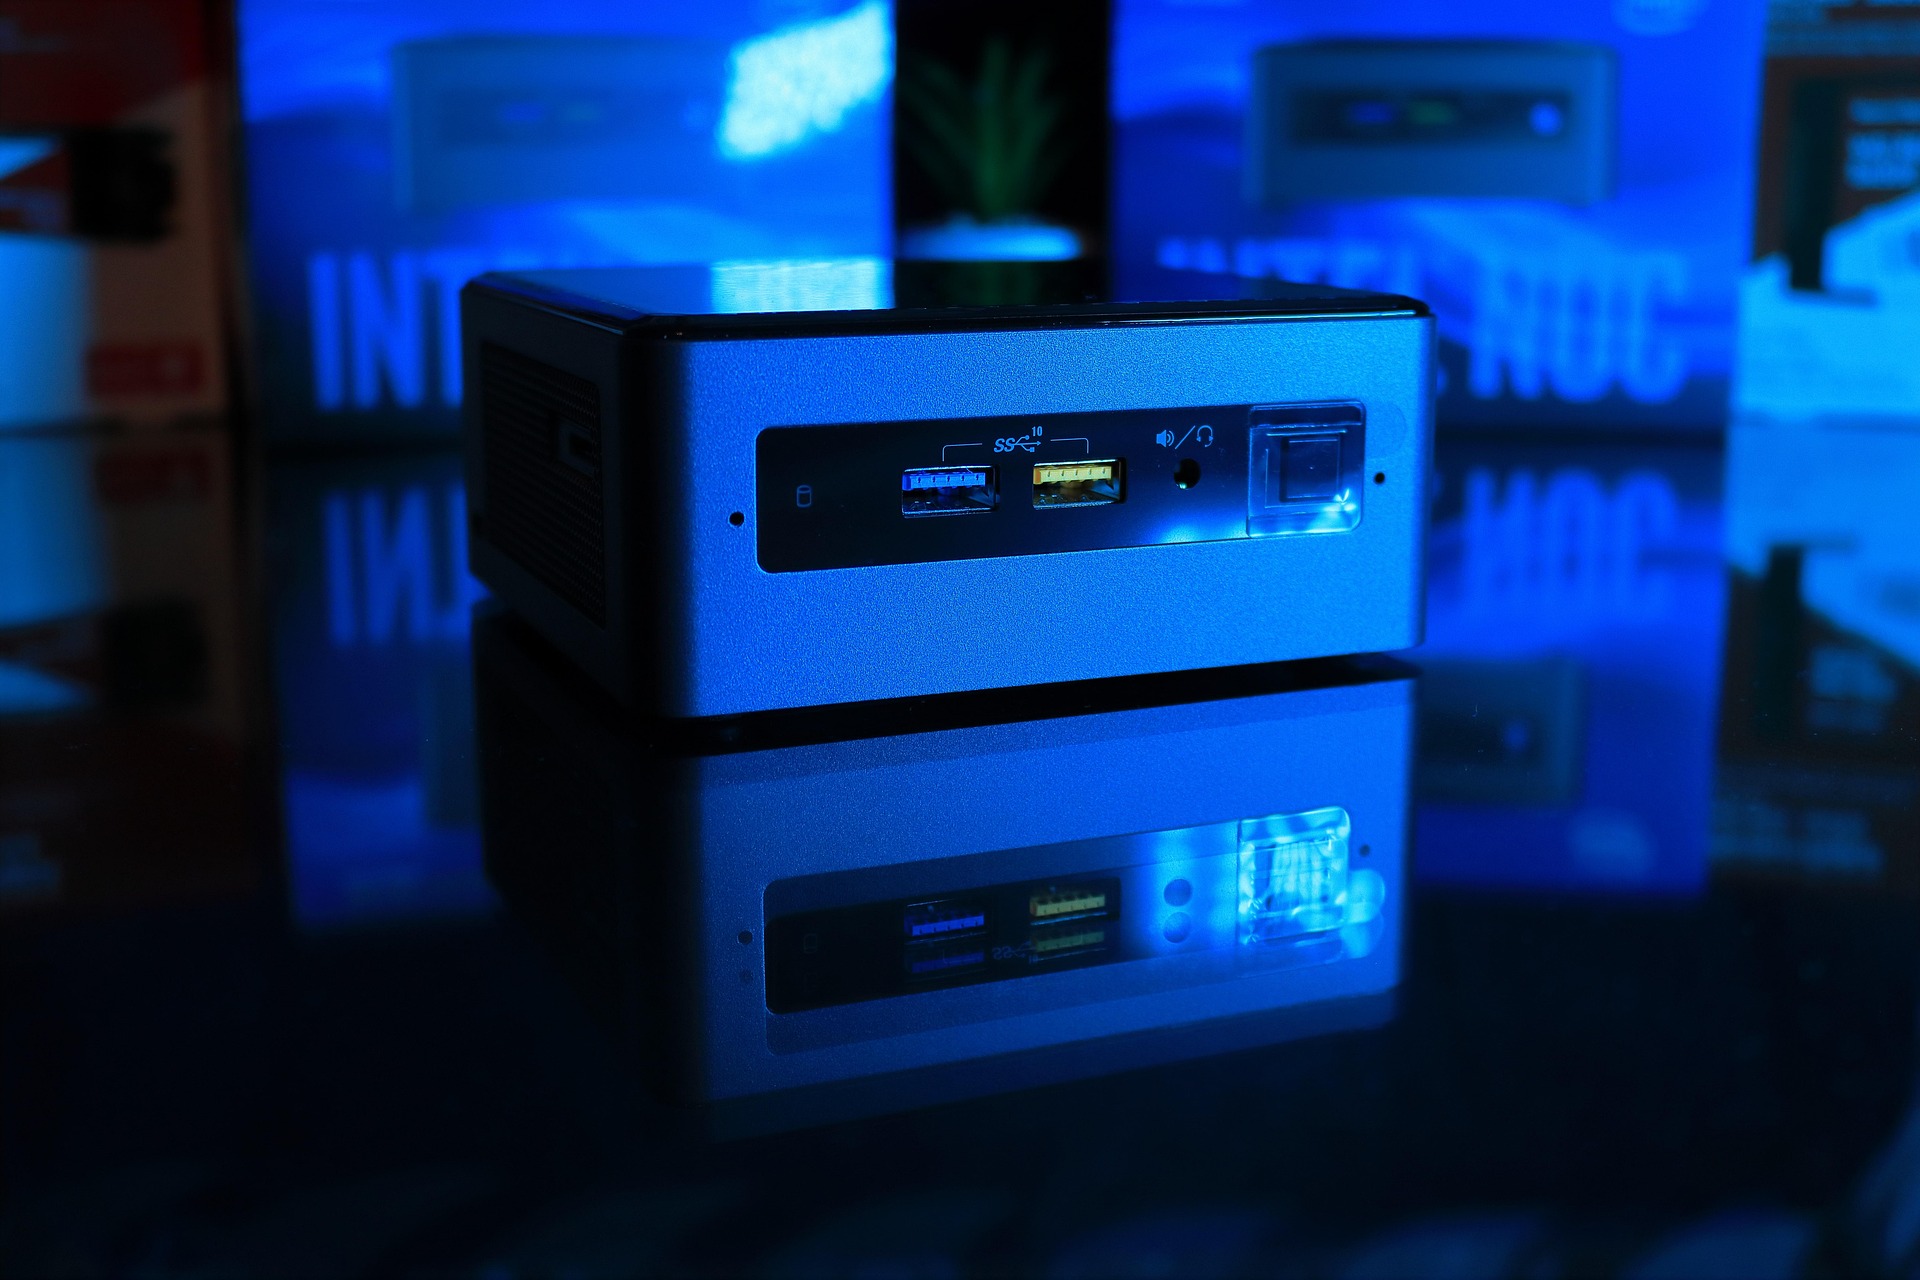
Open the box carefully and check that you have all the essentials. Most mini PCs will come with:
- The mini PC unit itself
- Power adapter and cable
- HDMI or DisplayPort cable (sometimes included)
- Mounting bracket (optional, for VESA or wall mounting)
- Screws and accessories (for installing storage or RAM, if needed)
- User manual
If you purchased a “barebones” unit, you may need to install storage (SSD/HDD) and RAM yourself. Otherwise, fully-assembled units are plug-and-play.
Step 2 – Connect Peripherals
Before you set up a mini PC, you’ll need to plug in the basic peripherals:
- Monitor – Your mini PC likely has HDMI, DisplayPort, or VGA outputs. Choose the cable that matches your monitor’s input. Connect one end of the cable to the mini PC and the other to your monitor.
- Keyboard and Mouse – Most mini PCs have multiple USB ports. Plug in your keyboard and mouse into any available USB ports. If you’re using wireless peripherals, connect their USB dongle or pair them via Bluetooth after the initial setup.
- Ethernet Cable (optional) – For faster internet setup, though Wi-Fi works fine too.
If you’re planning to use wireless peripherals, make sure your mini PC supports Bluetooth, or use a USB receiver.
Step 3 – Plug in the Power
Now that everything’s connected, go ahead and plug the power adapter into your mini PC and the wall outlet. Look for a small LED indicator that tells you it’s receiving power. Press the power button to boot it up.
Since this is the first time you’re turning it on, your mini PC may take a few extra moments to start.
Step 4 – Install the Operating System (If Needed)
Some mini PCs come with Windows or Linux pre-installed. If yours does, great! You can skip this part. If not, you’ll need to install your own OS.
Installing Windows
- Use another computer to download the Windows ISO from Microsoft’s website.
- Create a bootable USB using Rufus or a similar tool.
- Insert the USB stick into your mini PC.
- Boot into the BIOS/UEFI by pressing Delete, F2, or Esc right after powering on (it varies by brand).
- Set the USB as the first boot device and restart.
Follow the Windows setup prompts, and you’re good to go.
Installing Linux
You can follow the same steps using a Linux distro like Ubuntu or Linux Mint. Most Linux distributions work smoothly with mini PCs.
Step 5 – Connect to the Internet
Once your operating system is up and running, connect your mini PC to the internet:
- Wi-Fi – Click on the network icon and choose your network.
- Ethernet – Should connect automatically when plugged in.
After being connected, run updates right away so your system is secure and has the latest drivers. Visit the manufacturer’s website to download the latest drivers for your mini PC’s hardware components. This ensures optimal performance and compatibility.
Step 6 – Personalize and Install Apps
Now that you’ve managed to set up a mini PC, take some time to personalize it:
- Set your desktop wallpaper and themes.
- Set up power options to save energy.
- Install your preferred browser (Chrome, Firefox, etc.).
- Install an Antivirus software of your choice.
- Add software like office suites, media players, or development tools.
- Configure backup options and user accounts if multiple people will use it.
Optional: Use the built-in VESA bracket to mount your mini PC to the back of a monitor for a truly minimalist setup.
Step 7 – Optimize for Your Use Case
Depending on what you’re using your mini PC for, here are a few quick tips:
- Media Center – Install Plex, Kodi, or VLC for smooth streaming.
- Workstation – Add productivity tools like Microsoft 365 or LibreOffice.
- Light Gaming – Consider Steam or retro emulators (if your mini PC has decent specs).
- Server Use – Configure remote access, install Docker, or use it for file sharing or home automation.
Maintenance Best Practices
Keep your mini PC running smoothly with these detailed tips:
- Keep your mini PC ventilated – Even though they’re small, mini PCs need airflow to avoid overheating. Avoid blocking vents.
- Use a surge protector – Protect your device from power surges to extend its lifespan.
- Regular dusting – Clean your mini PC monthly with compressed air to prevent performance-killing dust buildup.
- Monthly software updates – Set aside time each month to install system updates and security patches to keep everything current.
- Disk cleanup and defragmentation – Clear unnecessary files and optimize storage monthly to maintain smooth operation.
- Monitor system temperatures – Check your system temperatures periodically to ensure proper cooling and prevent overheating.
- Back up important data regularly – Create automatic backups to protect your files from unexpected system issues.
Conclusion
Getting the most out of your compact setup starts with a solid foundation. Now that you know how to set up a mini PC, you’re ready to turn that small box into a powerful tool for work, entertainment, or creative projects. The initial setup might seem technical at first, but once it’s done, you’ll appreciate just how capable and efficient these machines can be. With the right configuration and a few personal touches, your mini PC can deliver a smooth, reliable experience that fits perfectly into your lifestyle.
Have questions or tips about how you set up your mini PC? Drop them in the comments.

